When we got the boat both the mast and the boom were in the need of some work and changes or additions.
The Mast
I started from the basic, that is halyards. They were of to big diameter (12mm) for the mats foot to go on the rollers without chafing. I put new 8mm halyards instead and two only as we don’t have spinnaker. I guess it my pose some problem now to fit it because there are cables as well inside the mast. Initially I simple replaced old for new lines but later I added cables for the mast fittings.
Yes, I decided to go for the ‘full package’ comprising of tricolour navigation lights with anchor light, wind speed and direction system (Nasa Target) and the VHF antenna. Those gone on top of the mast and below the spreaders the steaming light found its location. So, in the mast there are now two halyards and 4 cables.
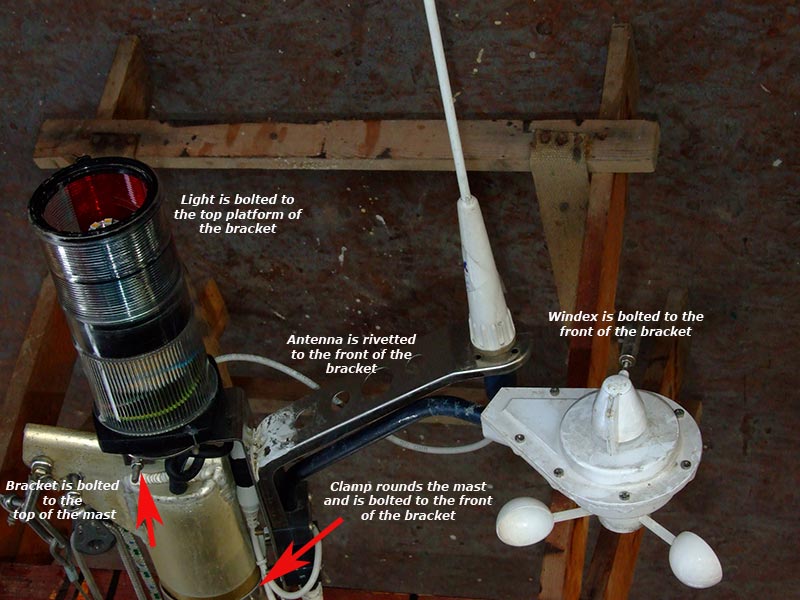
To put all the equipment on the top of the mast I designed a simple, stainless steel bracket which holds it and it is the only thing that is fixed to the mast. As you may know there is no platform and the tip is rather thin and I didn’t want to drill any holes there. I think that the drawing and pictures would explain it best. However it never came to my mind to take few while fitting it!. What a shame.
But I have something that may help. The picture was taken after some damages happened to our boat on the moorings. Click on the image to enlarge.
You can see that the nav-light is fitted on the small platform and both windex and antenna are attached to the front of the bracket. If you examine the drawing and the picture you should be able to workout how the bracket is fitted, I hope 🙂
Update: 12/08/2019 – we suffered another damage to the mast navlight and windex, as well as a bracket. While being moored-up at the pontoon, another boat rafted and seconds later some tug went by making seriously big wash effectively causing our masts to collide so badly, that almost all from our mast was ripped off. I had to replace windex and navlight but this time I used very clever light. It is LED, has three purposes but uses only one switch and fits into small anchor light housing. I have imported it from the US at the cost of around £89. Here is a link to its supplier Marine Beam.
Also, I fitted Barton lazy jacks which of course helps when the main sail goes down but it proves to be an obstruction when it goes up. The top of the sail or the first batten gets under the lazy jack line. I have to live with it for now.
The next thing that I had to do was a boom slider. During our first time ever test sail the rivets holding the front of the slider started popping out. On further inspection it turned out that all rivets holding it in the mast were also rotten and had to be replaced. I think that is all for the mast.
The Boom
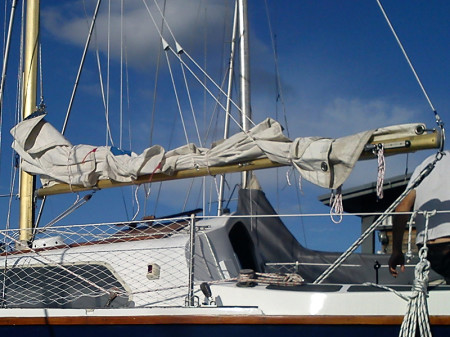
Galion22’s boom was made with roller reefing and needed a crank for it. We didn’t have it. There was no main sheets bracket above the track but there is a fitting at the outhaul, where also a topping lift is attached. I tried this arrangement on our first sail but it proved difficult to tack and especially to jibe. Also the traveller was jamming in the track under tension because of the angle the sheets were attached. You can see this on the below picture I took on the day of the launch befor our maiden voyage. You can see as well that there is no addition on the top of companionway. This was added at the same time as boom bracket.
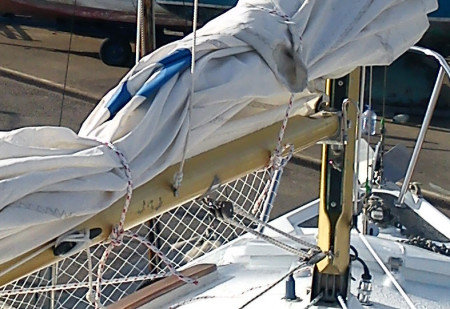
The boom rolling gear was blocked and I afixed a hook to it. This is to hold a main sail at the reef points. The lazy jacks and slab reefing blocks were fitted. You can see this on the pictures.
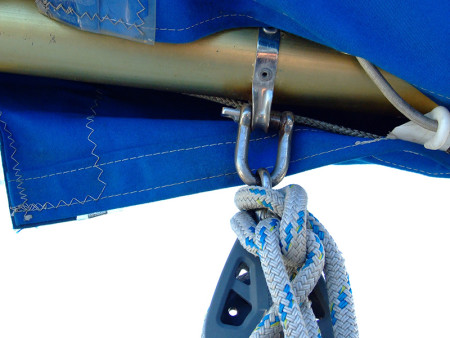
After first trials, I moved the main sheet attachment point, so it is directly above the traveller, but looking for a suitable bracket to do so took on my nerves. I spent days browsing online chandleries, pictures and finally it was P&B who got something good enough. Well, it has changed the game. Here it is:


